- A shed foundation is critical for stability, preventing sinking, protecting against moisture, and supporting heavy loads.
- Gravel foundations are affordable, quick to install, and provide excellent drainage, making them ideal for small to medium sheds.
- Concrete foundations are strong, long-lasting, and can support heavy equipment, making them better suited for larger sheds or workshops.
- Proper site preparation—including leveling, checking for utilities, and installing a sub-base—is essential for both gravel and concrete foundations.
- Step-by-step construction ensures a durable base: gravel requires perimeter boards, compacting, and stabilization fabric, while concrete requires forms, reinforcement, leveling, and curing.
- Common mistakes like poor leveling, insufficient drainage, or skipping reinforcement can compromise the foundation’s longevity.
- Gravel typically lasts 10–20 years, whereas a well-built concrete foundation can last 30+ years, making concrete the more durable long-term option.
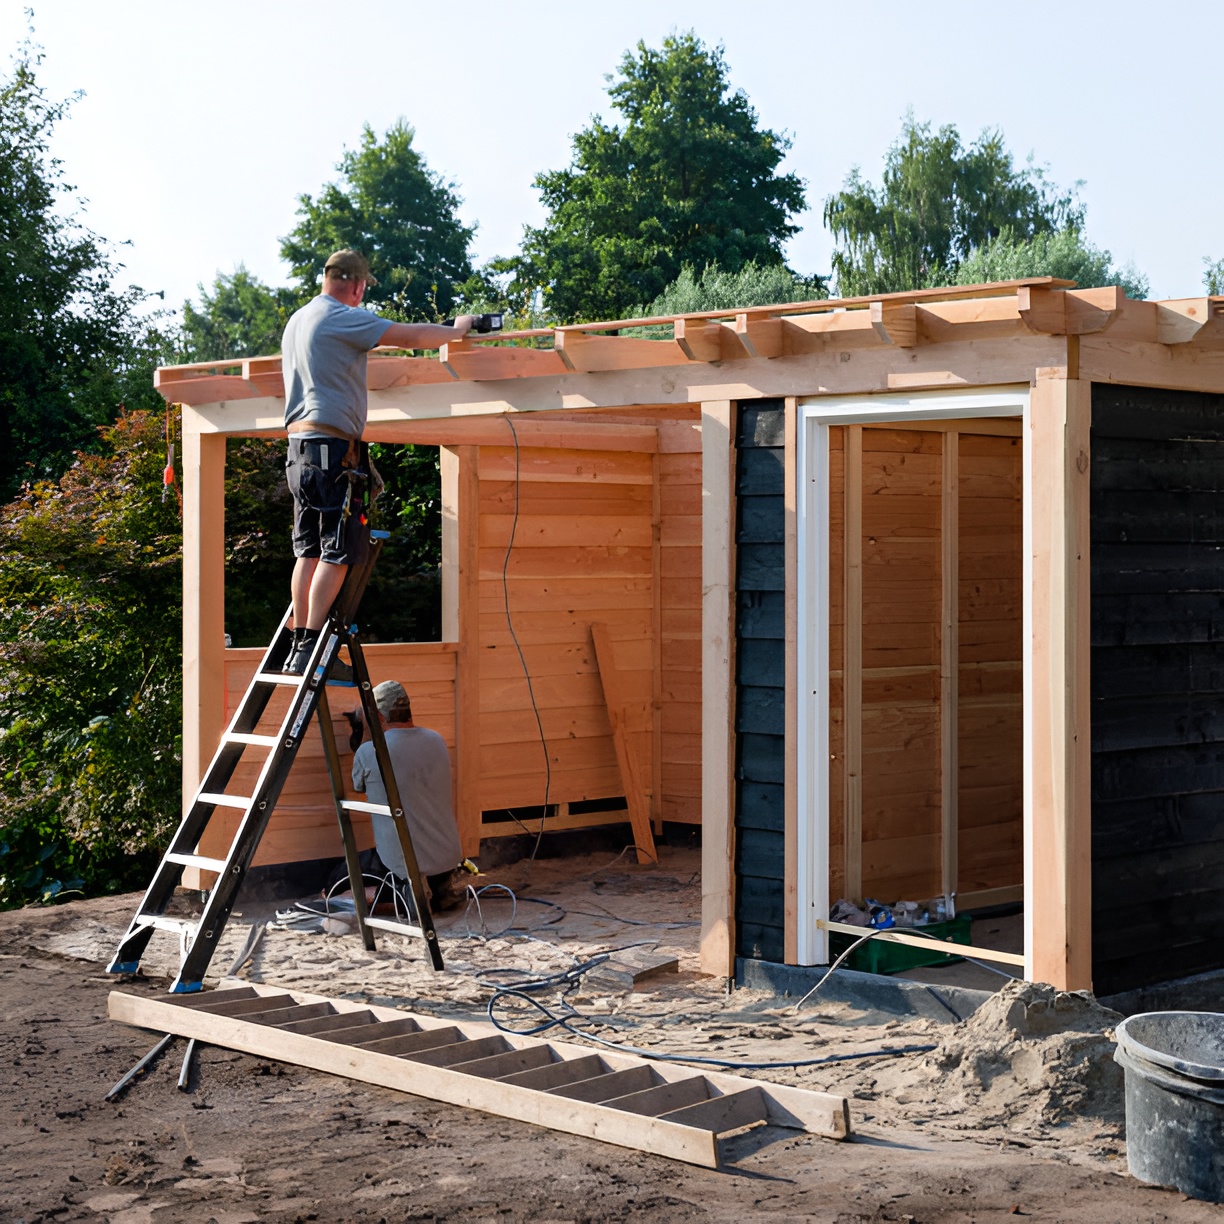
Building a shed might seem straightforward, but the foundation is the most important part of the process. A strong foundation keeps your shed level, protects it from moisture, and ensures it lasts for years. In this guide, we’ll show you how to build a shed foundation with gravel or concrete, providing step-by-step instructions for both materials. Whether you’re a DIY newbie or a seasoned builder, this guide will make the process easy to understand.
Why Does the Shed Foundation Matter?
When learning how to build a shed, it’s worth understanding why the foundation is so critical. The foundation supports the entire shed, keeping it stable during storms, preventing sinking, and avoiding damage to the shed floor. Choosing the right type of foundation depends on your budget, shed size, and site conditions.
Key Benefits of a Strong Shed Foundation
- Prevents water damage and rot by elevating the shed.
- Keeps the structure level and square for smooth door operation.
- Reduces the risk of structural issues over time.
- Supports heavy storage or workshop equipment inside the shed.
Should You Use Concrete or Gravel for Your Shed?
Concrete and gravel are the two most popular options for shed foundations. Both are durable, but each has pros and cons.
Concrete Foundations
- Extremely strong and long-lasting.
- Can support heavy equipment.
- Resistant to shifting or settling.
- More expensive and labor-intensive.
Gravel Foundations
- Affordable and quick to install.
- Allows for better drainage.
- Easier to remove or adjust if needed.
- Not as strong as concrete for large sheds or heavy loads.
If you’re planning a small storage shed, gravel may be sufficient. For larger sheds or workshops, concrete is often the better choice.
What Materials Do You Need for a Gravel Shed Foundation?
To build a durable gravel shed foundation, you’ll need the right combination of materials and tools. Here’s what to prepare:
- Pressure-treated lumber – 4×6 boards rated for ground contact, used for the perimeter to contain the gravel and provide stability.
- Crushed stone – 3/4-inch clean crushed stone is ideal for drainage. Avoid rounded river rocks or gravel mixes with dust, as they don’t drain well.
- Stabilization fabric – A heavy-duty woven fabric (Class 3) helps prevent the gravel from sinking into the soil while controlling weed growth.
- Wooden stakes and string – For accurately marking your shed footprint and keeping your layout square.
- Basic tools – Tape measure, level, shovel, rake, drill with a long bit, circular saw, and sledgehammer.
- Tamper or plate compactor – To compress the gravel and create a firm, level base.
Having these materials ready ensures your foundation will be stable, long-lasting, and resistant to shifting or settling over time.
How to Prepare Your Site for a Gravel Foundation
Proper site preparation is key to a level, well-drained shed foundation. Follow these steps:
- Choose the location carefully – Select a flat area with firm, undisturbed ground. Avoid low spots where water tends to pool, as this can lead to rot in the shed’s wooden runners.
- Check for utilities and regulations – Always confirm there are no underground gas, water, or electrical lines before digging, and verify local building codes for setbacks and frost protection.
- Mark the perimeter – Outline the shed footprint using stakes and string. To ensure the corners are square, measure diagonally or use the Pythagorean theorem. The foundation should extend roughly a foot beyond the shed on all sides to contain the gravel.
- Excavate or level the ground – Depending on the slope, either dig down the high areas or build up the low areas to achieve a level base. Aim for a basin roughly 4 inches deep for the gravel.
- Install perimeter boards – Lay the pressure-treated lumber along the edges to form a strong boundary. For slopes greater than about 16 inches, add perpendicular braces to prevent the walls from bowing under the gravel’s weight.
- Anchor the perimeter – Drive rebar or heavy stakes through the boards every 6–8 feet to secure them firmly in place.
- Lay stabilization fabric – Cover the excavated area with heavy-duty woven fabric to prevent the gravel from mixing with the soil and to improve drainage.
Proper preparation prevents settling, improves drainage, and makes the gravel foundation much easier to install.
Step-by-Step Guide: Building a Gravel Shed Foundation
With the site prepped and perimeter in place, you can build your gravel foundation using these steps:
- Add the gravel – Pour 3-4 inches of clean, 3/4-inch crushed stone into the prepared area. Use the perimeter boards as a guide to maintain level edges.
- Spread and level – Rake the gravel evenly, filling low spots and smoothing the surface. Check frequently with a level to maintain a flat, uniform base.
- Compact the gravel – Use a hand tamper or plate compactor, working from the inside outward to lock the gravel in place and ensure stability.
- Check for level again – After tamping, verify the surface is flat. Adjust as needed by adding or removing gravel.
- Optional edging – For extra stability and a neat appearance, you can install additional pressure-treated wood or metal edging around the gravel perimeter to keep it contained.
Once completed, the foundation is ready for your shed framing. A gravel foundation offers excellent drainage, even support, and is ideal for small to medium sheds on well-drained sites. Properly built, it will keep your shed level and protected for years to come.
What Materials Do You Need for a Concrete Shed Foundation?
Building a concrete shed foundation requires careful planning and the right materials. Here’s what you’ll need:
- Concrete mix – Either ready-mix bags or a DIY mix using cement, ballast, and water. A 4:1 ratio of ballast to cement works well for a strong base.
- Treated timber boards – Used to build the forms that define the edges of the foundation. Make sure the boards are straight and sturdy.
- Rebar or wire mesh – Reinforces the concrete, helping prevent cracks and adding long-term strength.
- Stakes and string – For marking out the shed perimeter and keeping forms square.
- Granular sub-base material – MOT Type 1 or similar crushed stone provides drainage and a solid footing.
- Measuring and leveling tools – Tape measure, square, and a long spirit level to ensure everything is level and true.
- Concrete tools – Trowel, float, shovel, and screed for pouring, spreading, and smoothing the concrete. A cement mixer is highly recommended if you have a large slab.
Having all materials and tools ready before starting saves time and ensures a smooth pour.
How to Prepare Your Site for a Concrete Foundation
Proper preparation is crucial for a level and durable concrete shed foundation. Follow these steps:
- Choose the location – Select a flat, well-drained area. Slightly raise the foundation above ground level to prevent water pooling around the shed.
- Mark the perimeter – Outline the foundation using stakes and string. Check that opposite corners are equal diagonally to make sure the frame is square.
- Excavate the area – Dig to a depth of 6–8 inches (15–20 cm) to allow space for both the sub-base and the concrete layer.
- Add the sub-base – Fill the excavated area with MOT Type 1 or similar granular material. Spread evenly and compact using a hand rammer for small areas or a plate compactor for larger slabs.
- Build the forms – Arrange treated timber boards around the edges of the excavation to create a mold for the concrete. Use a long spirit level to make sure the frame is completely flat.
- Install reinforcement – Place rebar or wire mesh inside the forms to strengthen the concrete and reduce the risk of cracking.
A well-prepared site sets the stage for a strong, level foundation that can last for decades.
Step-by-Step Guide: Building a Concrete Shed Foundation
Once your site is ready, follow these steps to pour and finish your concrete base:
- Mix the concrete – Prepare your mix, aiming for a workable consistency. If using a DIY mix, a 4:1 ratio of ballast to cement with enough water to make it pourable works well. A cement mixer is recommended for larger slabs.
- Pour the concrete – Fill the forms gradually, spreading it evenly across the base. Use a spade to gently work the concrete and remove air pockets.
- Level the surface – Run a screed or long piece of timber across the forms using a sawing motion to level the concrete and remove excess.
- Smooth the top – Use a trowel or float to create a smooth, even finish, paying attention to corners and edges.
- Create control joints – Cut shallow lines every few feet to allow for expansion and prevent cracking.
- Cure the concrete – Protect the fresh concrete from rapid drying, especially in hot weather, by covering it with a tarpaulin. Wait at least two days before walking on it and ideally a full week before building the shed on top.
A properly poured and cured concrete foundation provides a stable, long-lasting base, perfect for larger sheds or workshops that need extra support.
Gravel vs. Concrete: How to Choose for Your Shed
When deciding between gravel and concrete, ask yourself:
- How big is my shed?
- Will I store heavy equipment?
- What is my budget?
- How quickly do I want to install the foundation?
- Is the area prone to water pooling?
Quick Comparison Table
| Feature | Gravel | Concrete |
| Cost | Low | High |
| Installation | Easy | Labor-intensive |
| Strength | Moderate | Very strong |
| Drainage | Excellent | Good if sloped |
| Longevity | Moderate | Very long-lasting |
Tips for a Long-Lasting Shed Foundation
- Always double-check your measurements and level.
- Don’t rush curing for concrete. Patience is key.
- Consider adding edging around gravel to prevent spread.
- Keep the foundation slightly raised if water runoff is an issue.
- Regularly inspect the base for settling, erosion, or weed growth.
Common Mistakes to Avoid
- Skipping site leveling, which leads to an uneven shed.
- Using the wrong gravel size or low-quality concrete.
- Failing to install reinforcement in concrete.
- Not compacting gravel properly.
- Ignoring drainage, which can cause rot or shifting over time.
Can You Mix Gravel and Concrete?
Some DIYers choose to combine both: a concrete perimeter with a gravel infill. This can offer the stability of concrete with the drainage benefits of gravel. However, it’s best for experienced builders who want extra durability without a full concrete slab.
How Long Will Each Foundation Last?
- Gravel: Typically 10-20 years with proper maintenance.
- Concrete: 30+ years if installed correctly, with minimal settling or cracking.
Wrapping It Up
Building a shed foundation doesn’t have to be complicated. Whether you choose gravel or concrete, preparation is key. Proper site selection, leveling, and material choice will save you time, money, and frustration down the line.
A gravel foundation is quick, affordable, and perfect for smaller sheds or areas with excellent drainage. Concrete, while more expensive and labor-intensive, provides unmatched stability and longevity for larger sheds or heavy-use workshops.
Follow the step-by-step guides above, and you’ll have a strong, level base ready to support your shed for years to come. Remember, a solid foundation is the difference between a shed that lasts decades and one that struggles against the elements.