
When freezing temperatures arrive, a home’s heating systems and structural boundaries are tested against relentless cold. Keeping indoor spaces consistently warm requires more than adjusting a thermostat. Heating equipment fighting structural air leaks, uninsulated voids, and unserviced ducts runs continuously, inflating utility bills while leaving living areas drafty.
True thermal comfort relies on the coordinated performance of mechanical systems and the building envelope. When cold air enters through unsealed gaps around foundations, eaves, and frames, it drives warm indoor air upward and outward. Meanwhile, unserviced mechanical components lose efficiency, struggle to generate rated heat output, and risk premature breakdown during freezing weather. Taking a deliberate approach to pre-winter preparation preserves the longevity of your home’s infrastructure, prevents catastrophic emergencies such as ruptured plumbing lines, and ensures your family remains thoroughly comfortable throughout the freezing months ahead.
Optimizing Forced-Air and Central Heat Distribution
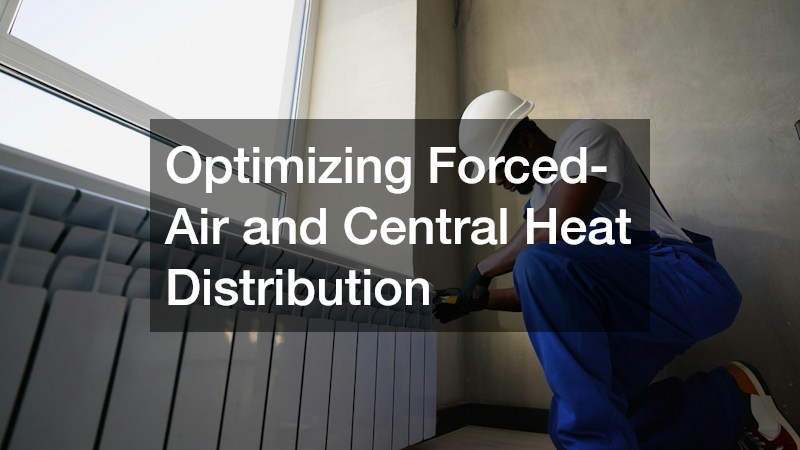
Central heating systems serve as the mechanical heart of seasonal home warmth. When blowers, ductwork, and combustion chambers operate with optimal airflow and clean components, they transfer heat swiftly and evenly throughout every floor plan. Neglecting basic maintenance causes systems to short-cycle, overheat internal heat exchangers, and waste fuel.
- Replace restricted air filters: High-efficiency furnaces rely on steady air velocity to keep heat exchangers within safe operating temperature limits. Inspect your filter monthly during the peak winter cycle. Upgrading to a pleated filter rated between MERV 8 and MERV 11 provides an ideal balance between trapping airborne dust and maintaining uninterrupted airflow. Clean filters prevent excessive strain on the blower motor and ensure maximum volume enters the duct system.
- Calibrate programmable thermostats: Verify that your wall thermostat accurately reflects ambient room temperatures by placing a calibrated digital thermometer alongside it. Program setback temperatures of 68 degrees Fahrenheit during waking hours and 60 to 62 degrees while sleeping or away. Every degree lowered during unoccupied periods can reduce annual heating consumption by up to one percent.
- Balance supply registers and return grilles: Walk through every room to ensure furniture, draperies, and area rugs do not obstruct warm air supply vents. Vacuum return grilles thoroughly to eliminate dust that starves the system of return airflow. Keep interior doors slightly ajar to allow balanced air pressure distribution across adjacent rooms.
- Inspect the combustion chamber and exhaust flue: For gas or oil furnaces, check the burner flame through the observation port; it should burn a crisp, steady blue. A flickering yellow flame points to incomplete combustion, carbon buildup, or burner contamination that demands immediate correction.
While routine homeowner checks prevent superficial clogs, internal mechanical assemblies require specialized diagnostic instruments. Enlisting licensed HVAC services before sub-zero temperatures arrive ensures your equipment is thoroughly tested for static airflow pressure, electrical continuity, and gas manifold pressure. Technicians clean delicate flame sensors, check draft inducer blowers, and inspect the integrity of the heat exchanger for hairline fractures that could vent toxic combustion gases into conditioned air. Scheduling annual heating services guarantees that your furnace or heat pump operates at peak efficiency, minimizing seasonal fuel costs while eliminating the threat of sudden mid-winter lockouts.
Protecting Domestic Hot Water and Exposed Supply Lines

Domestic hot water systems and freshwater supply lines face intense stress when sub-surface ground temperatures plunge. Incoming municipal water temperatures can drop by twenty to thirty degrees, forcing heating appliances to work harder to satisfy household demand. Unprotected pipes passing through exterior walls or unconditioned crawl spaces can freeze within hours, leading to structural water damage and severe loss of heat.
- Flush storage tank sediment: Dissolved minerals like calcium carbonate precipitate out of heated water and settle into the bottom of conventional storage tanks. This calcified layer acts as an insulating blanket between the burner flame and the water column, forcing the system to fire longer while creating loud popping sounds. Connect a garden hose to the lower drain spigot, open the valve, and discharge several gallons into a floor drain until the water runs clear.
- Test the temperature and pressure relief valve: Locate the brass safety relief valve on the upper portion of the tank and lift its manual test lever. Water should discharge freely into the exterior drain pipe, stopping cleanly once released. If the valve sticks, drips continuously, or fails to release water, it must be replaced immediately to prevent dangerous over-pressurization.
- Insulate exterior and crawl space plumbing runs: Wrap all exposed copper and PEX lines located in basements, crawl spaces, and exterior perimeter chases with pre-slit closed-cell polyethylene foam insulation. Seal all mitered joints and butt ends with moisture-resistant foil tape to lock out cold convective currents.
- Isolate and winterize outdoor sillcocks: Detach and drain all garden hoses from exterior spigots before the first freeze. If your home has interior shutoff valves for exterior hose bibs, close them, open the outside faucets to drain remaining fluid, and leave the small bleeder caps open inside to vent lingering moisture.
If your tank struggles to maintain target water temperatures, produces rusty discolored flow, or exhibits moisture pooling near the base, schedule timely water heater repair to replace failing lower heating elements or degraded sacrificial anode rods. For complex plumbing layouts, uninsulated piping buried in cold wall cavities, or frost-free spigot replacements, relying on experienced local plumbers ensures that lines are routed safely, freeze-proof valves are properly pitched, and domestic water supplies remain protected against deep seasonal freezes.
Eliminating Drafts Across Windows and Exterior Entries
Windows and exterior doorways represent vulnerable points in a home’s thermal barrier. Microscopic fractures around sashes or compressed bottom seals allow cold air to seep inside, chilling floor-level spaces and forcing furnaces to cycle continuously.
- Seal window frame perimeters with flexible caulk: Inspect interior and exterior window trim for dried, cracked, or pulled caulk lines. Use a high-grade elastomeric acrylic or paintable silicone caulk along the junction where window casings meet drywall and siding. Smooth the bead with a damp sponge or tooling stick to produce an airtight, weather-resistant barrier that expands and contracts with shifting seasonal temperatures.
- Apply heavy-gauge insulating shrink film: For older double-hung or single-pane units that transmit cold directly through the glass, apply transparent shrink film over the entire frame. Fasten the perimeter tape securely, apply gentle heat using a standard hair dryer to shrink out wrinkles, and create a static dead-air space that dramatically cuts conductive heat transfer.
- Replace damaged entry door weatherstripping: Over time, compression bulb and kerf-inserted foam strips around exterior door jambs flatten out, crack, or tear away. Pull out degraded seals and insert high-density silicone or tubular vinyl weatherstripping that compresses firmly when the door latches, creating a tight perimeter seal.
- Adjust adjustable thresholds and install sweeps: Inspect the light visible beneath closed exterior doors. Turn the brass adjustment screws on your threshold plate counterclockwise to raise the bevel until it touches the door bottom evenly. Mount a heavy-duty aluminum and neoprene door sweep along the lower interior edge to stop ground-level cold drafts.
When window frames show signs of dry rot, warped tracks, or clouded double-pane glass resulting from ruptured perimeter vacuum seals, call in professional window services to evaluate structural replacements. Replacing failing glass packs or installing argon-filled, low-emissivity windows restores structural air barriers permanently. Similarly, when entry frames are out of square, settling unevenly, or deteriorating from decades of weather exposure, working with seasoned door contractors allows you to hang insulated fiberglass entry doors that incorporate multi-point locking mechanisms to resist strong winter wind pressures.
Fortifying Roof Valleys and Sealing Attic Thermal Bypasses
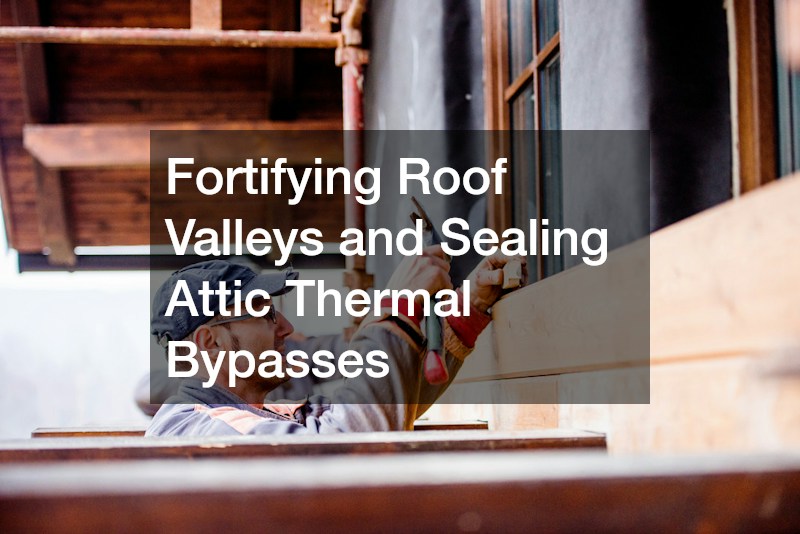
Roof structures and attic cavities play an influential role in retaining internal warmth through the winter months. Heated air naturally rises through conditioned living areas, seeking out structural pathways into unconditioned attic spaces. If this convective airflow is left unaddressed, it creates thermal disparities that melt roof snow prematurely, resulting in devastating ice dams along the eaves.
- Clear valleys, gutters, and downspout leaders: Autumn leaves, twigs, and pine needles accumulate in low-pitch roof valleys and gutter troughs. When snow falls over this trapped debris, melting water backs up beneath roof shingles instead of draining freely through downspouts. Scoop out gutters thoroughly, flush leaders with water, and verify that downspout discharge extensions direct runoff away from foundation walls.
- Seal attic floor bypasses around flues and wiring: Pull back existing loose-fill or batt insulation in the attic to locate plumbing vent stacks, electrical wire penetrations, and recessed lighting fixtures. Use fire-resistant expanding polyurethane foam or sheet metal flashing sealed with high-temperature silicone to close off convective air pathways that pull conditioned room air upward into the attic.
- Install insulated attic hatch covers: The pull-down stair or access scuttle into your attic is essentially an open gap in your home’s thermal insulation ceiling. Construct a rigid box out of foil-faced polyisocyanurate foam board to sit snugly over the opening, and apply self-adhesive weatherstripping along the framing lip to halt warm air leakage.
- Verify balanced attic soffit and ridge ventilation: Cold air must circulate freely through soffit vents and exit through ridge vents to maintain an attic temperature equal to outside air. Install plastic or cardboard rafter baffles along the eaves to prevent loose insulation from choking off incoming soffit airflow.
If your roof decking exhibits loose shingles, deteriorating step flashing around chimneys, or signs of past water intrusion, bring in an experienced roofing company to inspect the deck, repair underlayments, and verify that self-adhering ice-and-water shields extend sufficiently past interior wall boundaries. To solve attic heat loss permanently, partnering with a certified spray foam insulation contractor creates an impenetrable air barrier on roof rafters and basement rim joists. Closed-cell spray foam eliminates convective heat transfer, provides superior R-value per inch, and prevents warm indoor air from triggering destructive freeze-thaw cycles on the roof.
Stabilizing Temperatures in Attached Garages and Subfloors
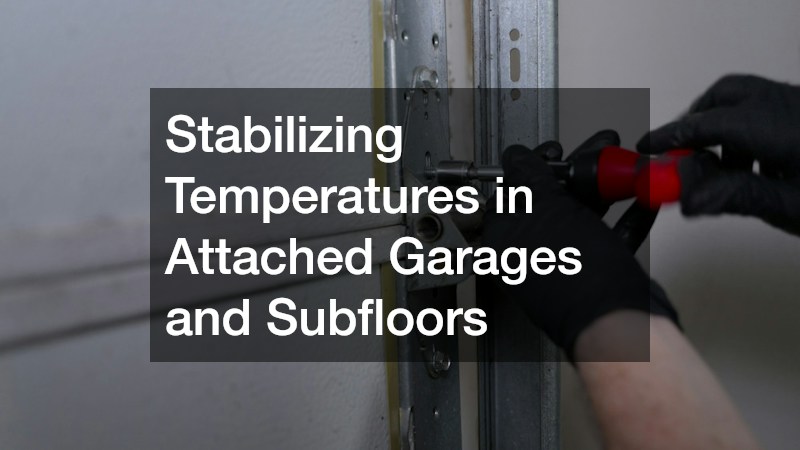
Ground-level floors and rooms adjoining attached garages are frequently the coldest areas in a home. Because garages are rarely insulated to residential living standards, freezing air penetrates shared wall assemblies and chills floorboards above, creating pervasive discomfort on first-floor living surfaces.
- Replace worn garage door bottom astragal seals: The rubber or vinyl seal along the bottom edge of an overhead garage door hardens and cracks over time, permitting freezing wind and drifting snow to blow across the garage slab. Slide out the damaged strip, clean the aluminum retainer channel, and install a heavy-duty EPDM rubber bulb seal that contours to uneven concrete.
- Seal perimeter garage door weatherstripping: Install exterior vinyl jamb brackets with integrated flexible flap seals along the sides and top of the exterior garage frame. Adjust track brackets so door panels press firmly against the rubber flap when the opener locks down, stopping windy drafts from entering the garage space.
- Caulk expansion joints along first-floor baseboards: In living rooms and dining areas situated over unheated crawl spaces or basements, cold air infiltrates through the hidden expansion space between finished flooring and drywall. Remove or caulk along baseboard trim and quarter-round molding using a clear or color-matched flexible sealant to block cold drafts.
- Add dense thermal underlayment and heavy wool rugs: Uninsulated hardwood, laminate, or tile floors conduct cold rapidly away from bare feet. Place thick wool area rugs paired with recycled felt or closed-cell rubber pads across high-traffic hallways, seating zones, and kitchens to establish an insulative thermal break.
When an attached garage door is constructed of thin, uninsulated single-layer steel panels, it functions as a gigantic refrigeration plate against your home’s interior envelope. Investing in a professional garage door replacement that features multi-layer polyurethane-injected sandwich construction provides an R-value of 16 or greater, immediately elevating ambient garage temperatures and warming adjacent living areas. For stubborn cold floors above unfinished crawl spaces or open garages, consulting certified flooring services allows you to remove worn surfaces, install insulated subfloor panels, or integrate hydronic or electric radiant floor warming systems that radiate heat upward directly where it is felt most.
Preparing a home for the challenges of winter weather requires an interconnected strategy that addresses mechanical equipment and building envelopes simultaneously. Overlooking either side of this dynamic undermines your comfort; an efficient heating unit cannot overcome drafty windows, just as a well-sealed attic cannot compensate for a struggling, clogged furnace.
Tackling these crucial tasks systematically ensures your living spaces remain reliably cozy, safe, and efficient. Dedicating time to basic owner-level checkups—such as swapping air filters, bleeding water heater sediment, sealing baseboards, and weatherstripping exterior doors—yields immediate gains in comfort while taking immense pressure off your major home systems. For complex tasks involving combustion analysis, structural envelope sealing, roof reinforcement, and specialized mechanical repairs, partnering with qualified trade professionals guarantees reliable, lasting workmanship.
Taking proactive steps before the deep freeze sets in protects your property’s value, shields your family from hazardous winter emergencies, and keeps your monthly heating expenses completely under control. By prioritizing these essential maintenance measures today, you can enjoy a warm, draft-free, and worry-free winter retreat no matter how low the temperature falls outside.
